
Astrophotography is a habit of humble even the most confident photographers. What appears to be the perfect scene for the eyes is often turned into a trail of blurred or unwanted stars. The sky is constantly moving, the light is faint, and getting everything right requires more attention than most other types of photos.
Below are five of the most common mistakes beginners often make when filming the night sky. Knowing these will save you time, frustration and wasted shooting. Technique is important, but having the best astrophotography camera and astro lenses will help you get the best shots possible.
1. Not nailing the focus
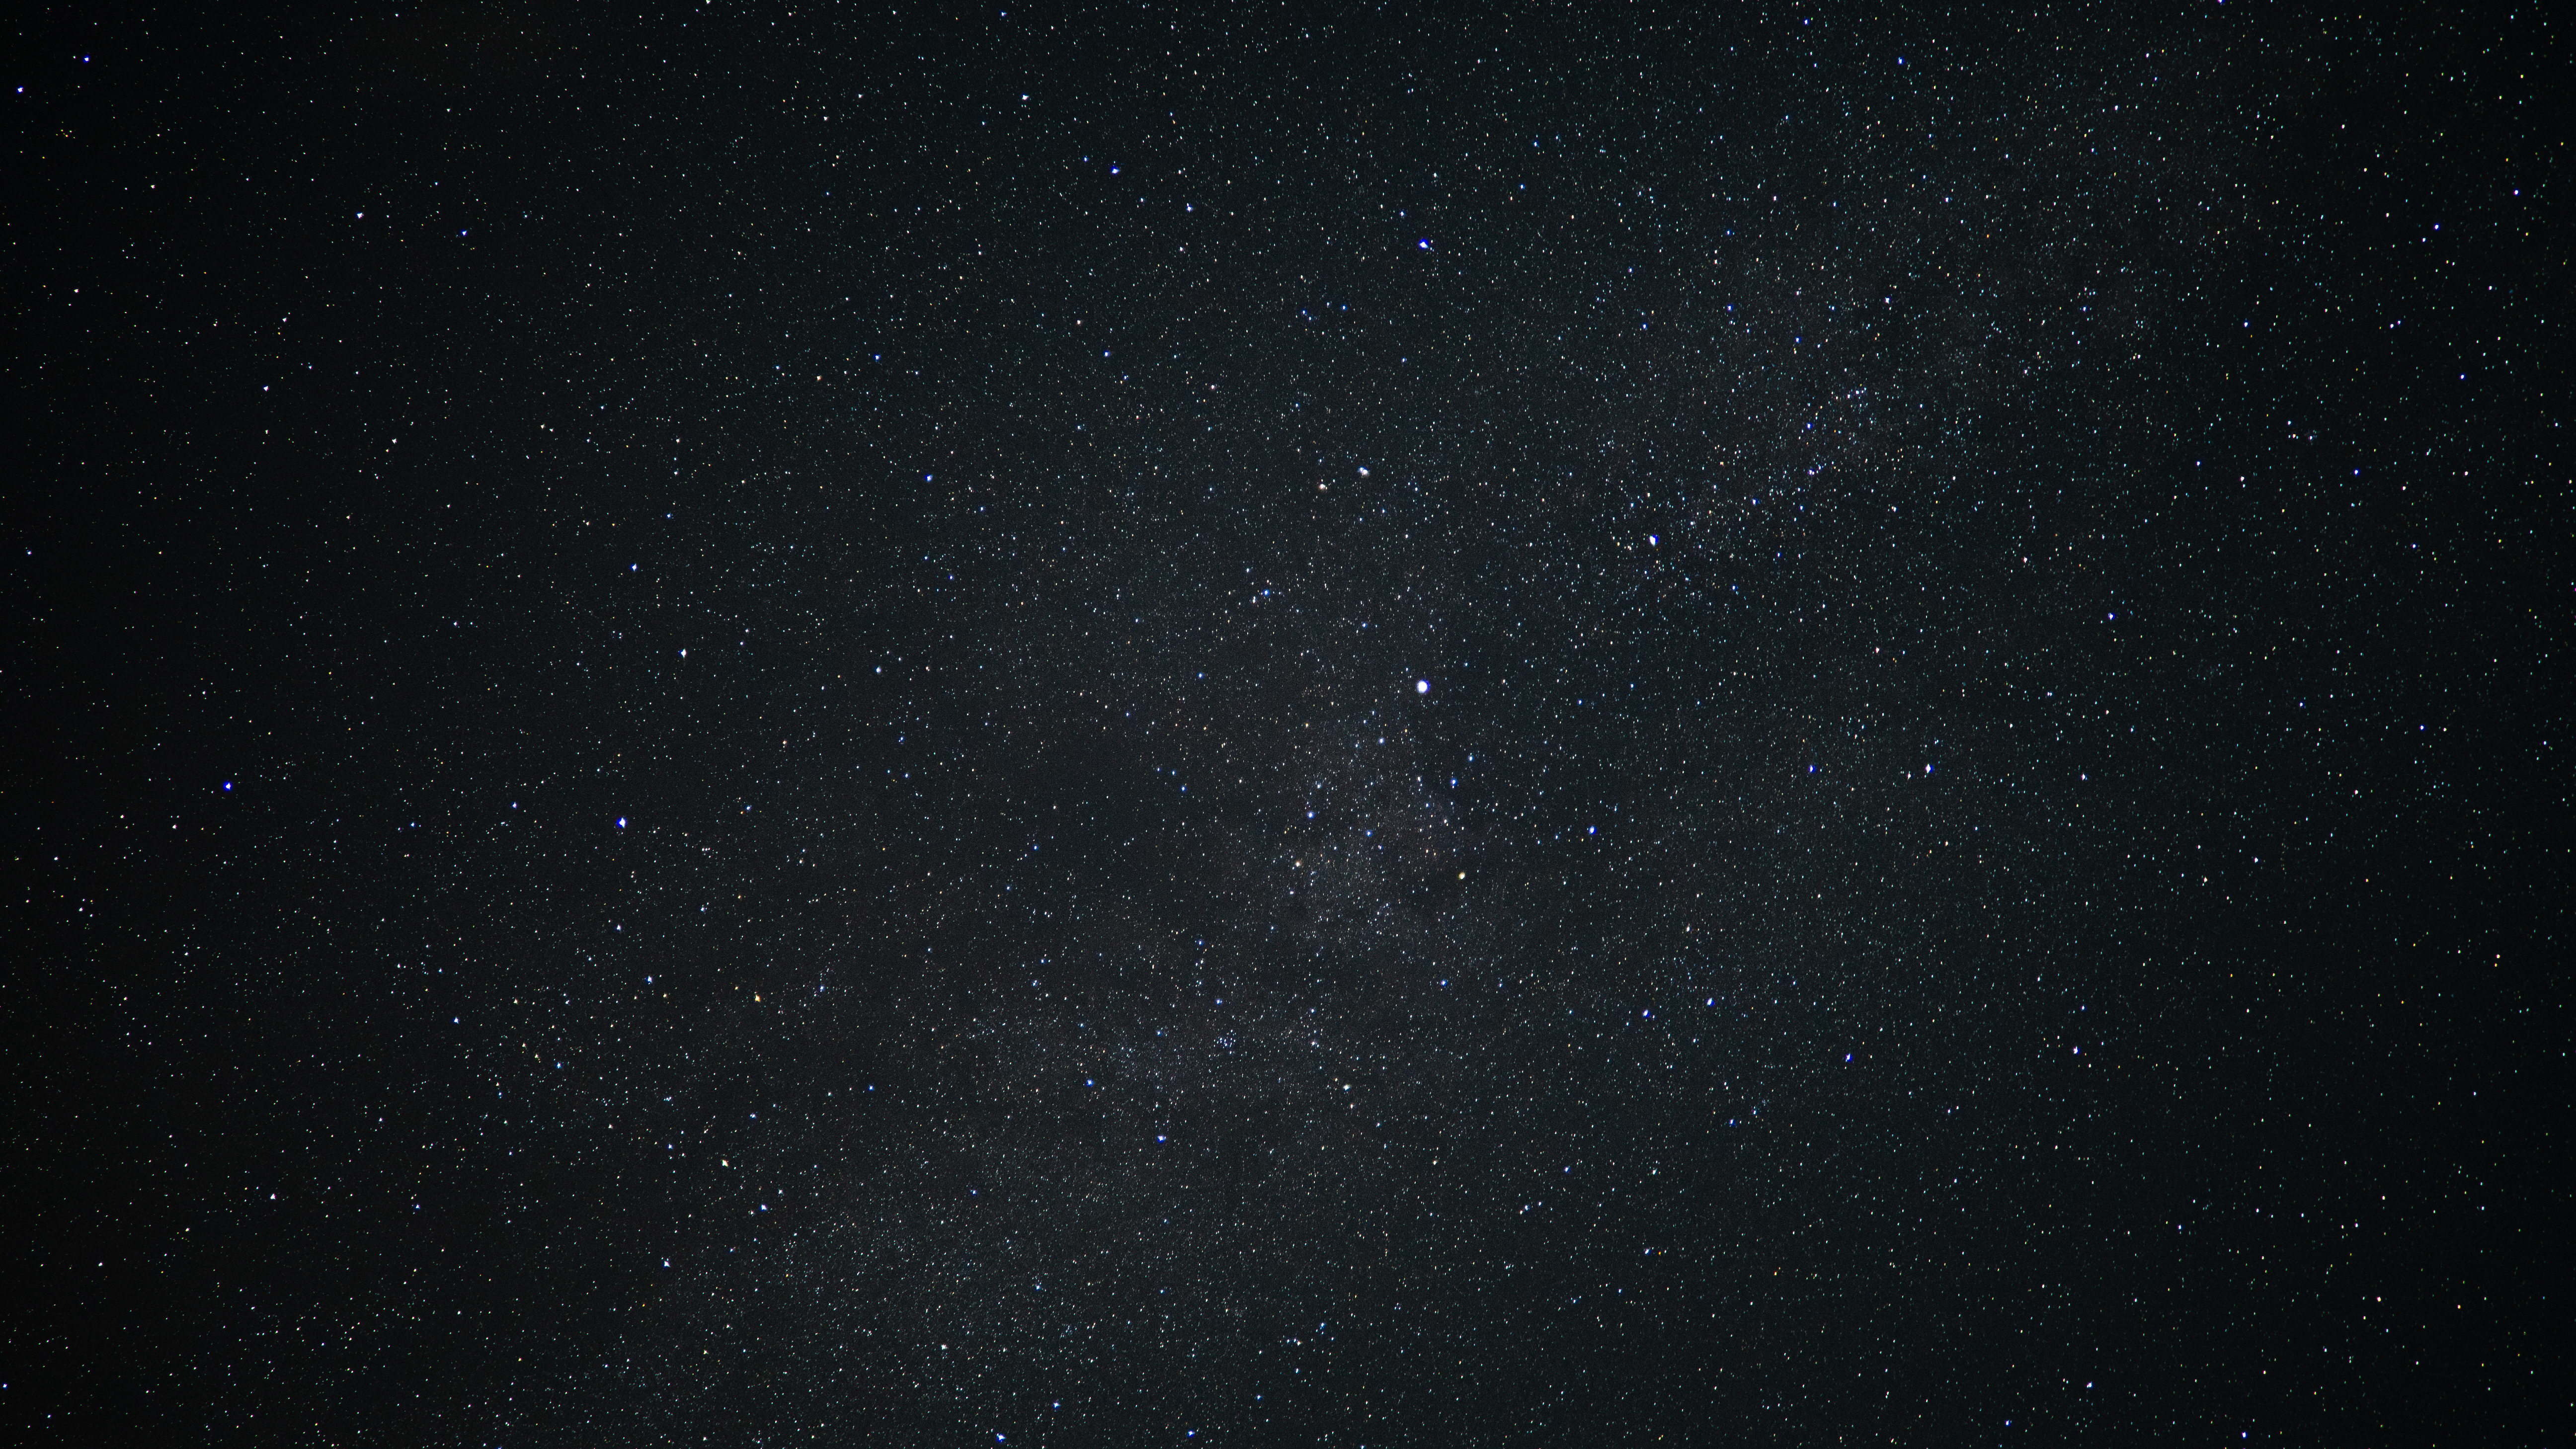
Nothing kills an Astro Shot faster than missing focus. When you miss the focus, the stars not only appear to be “soft” but also to be wrong. For sharp pinpoints, you need to focus on Infinity, but that’s not as easy as twisting the lens all the time. You still need to fine-tune the focus.
You might like it
To focus on Infinity, look at the LCD screen (or turn on Live View) and enlarge the brightest star in the frame. Gently adjust the focus ring until the star is the smallest and most defined point. To ensure that the focus is correct, expose your test and zoom in to see the results. Continue practicing as it will be easier the more you do it.
Some new cameras feature starry autofocus. I tested the OM System OM-1 Mark II during my review and was amazed at how well it worked. It’s always a good idea to get used to manual focus as a backup, but if you want a sharp star every time, the OM system has a back.
These cameras have Starry Sky AF:
2. You are not using the correct shutter speed
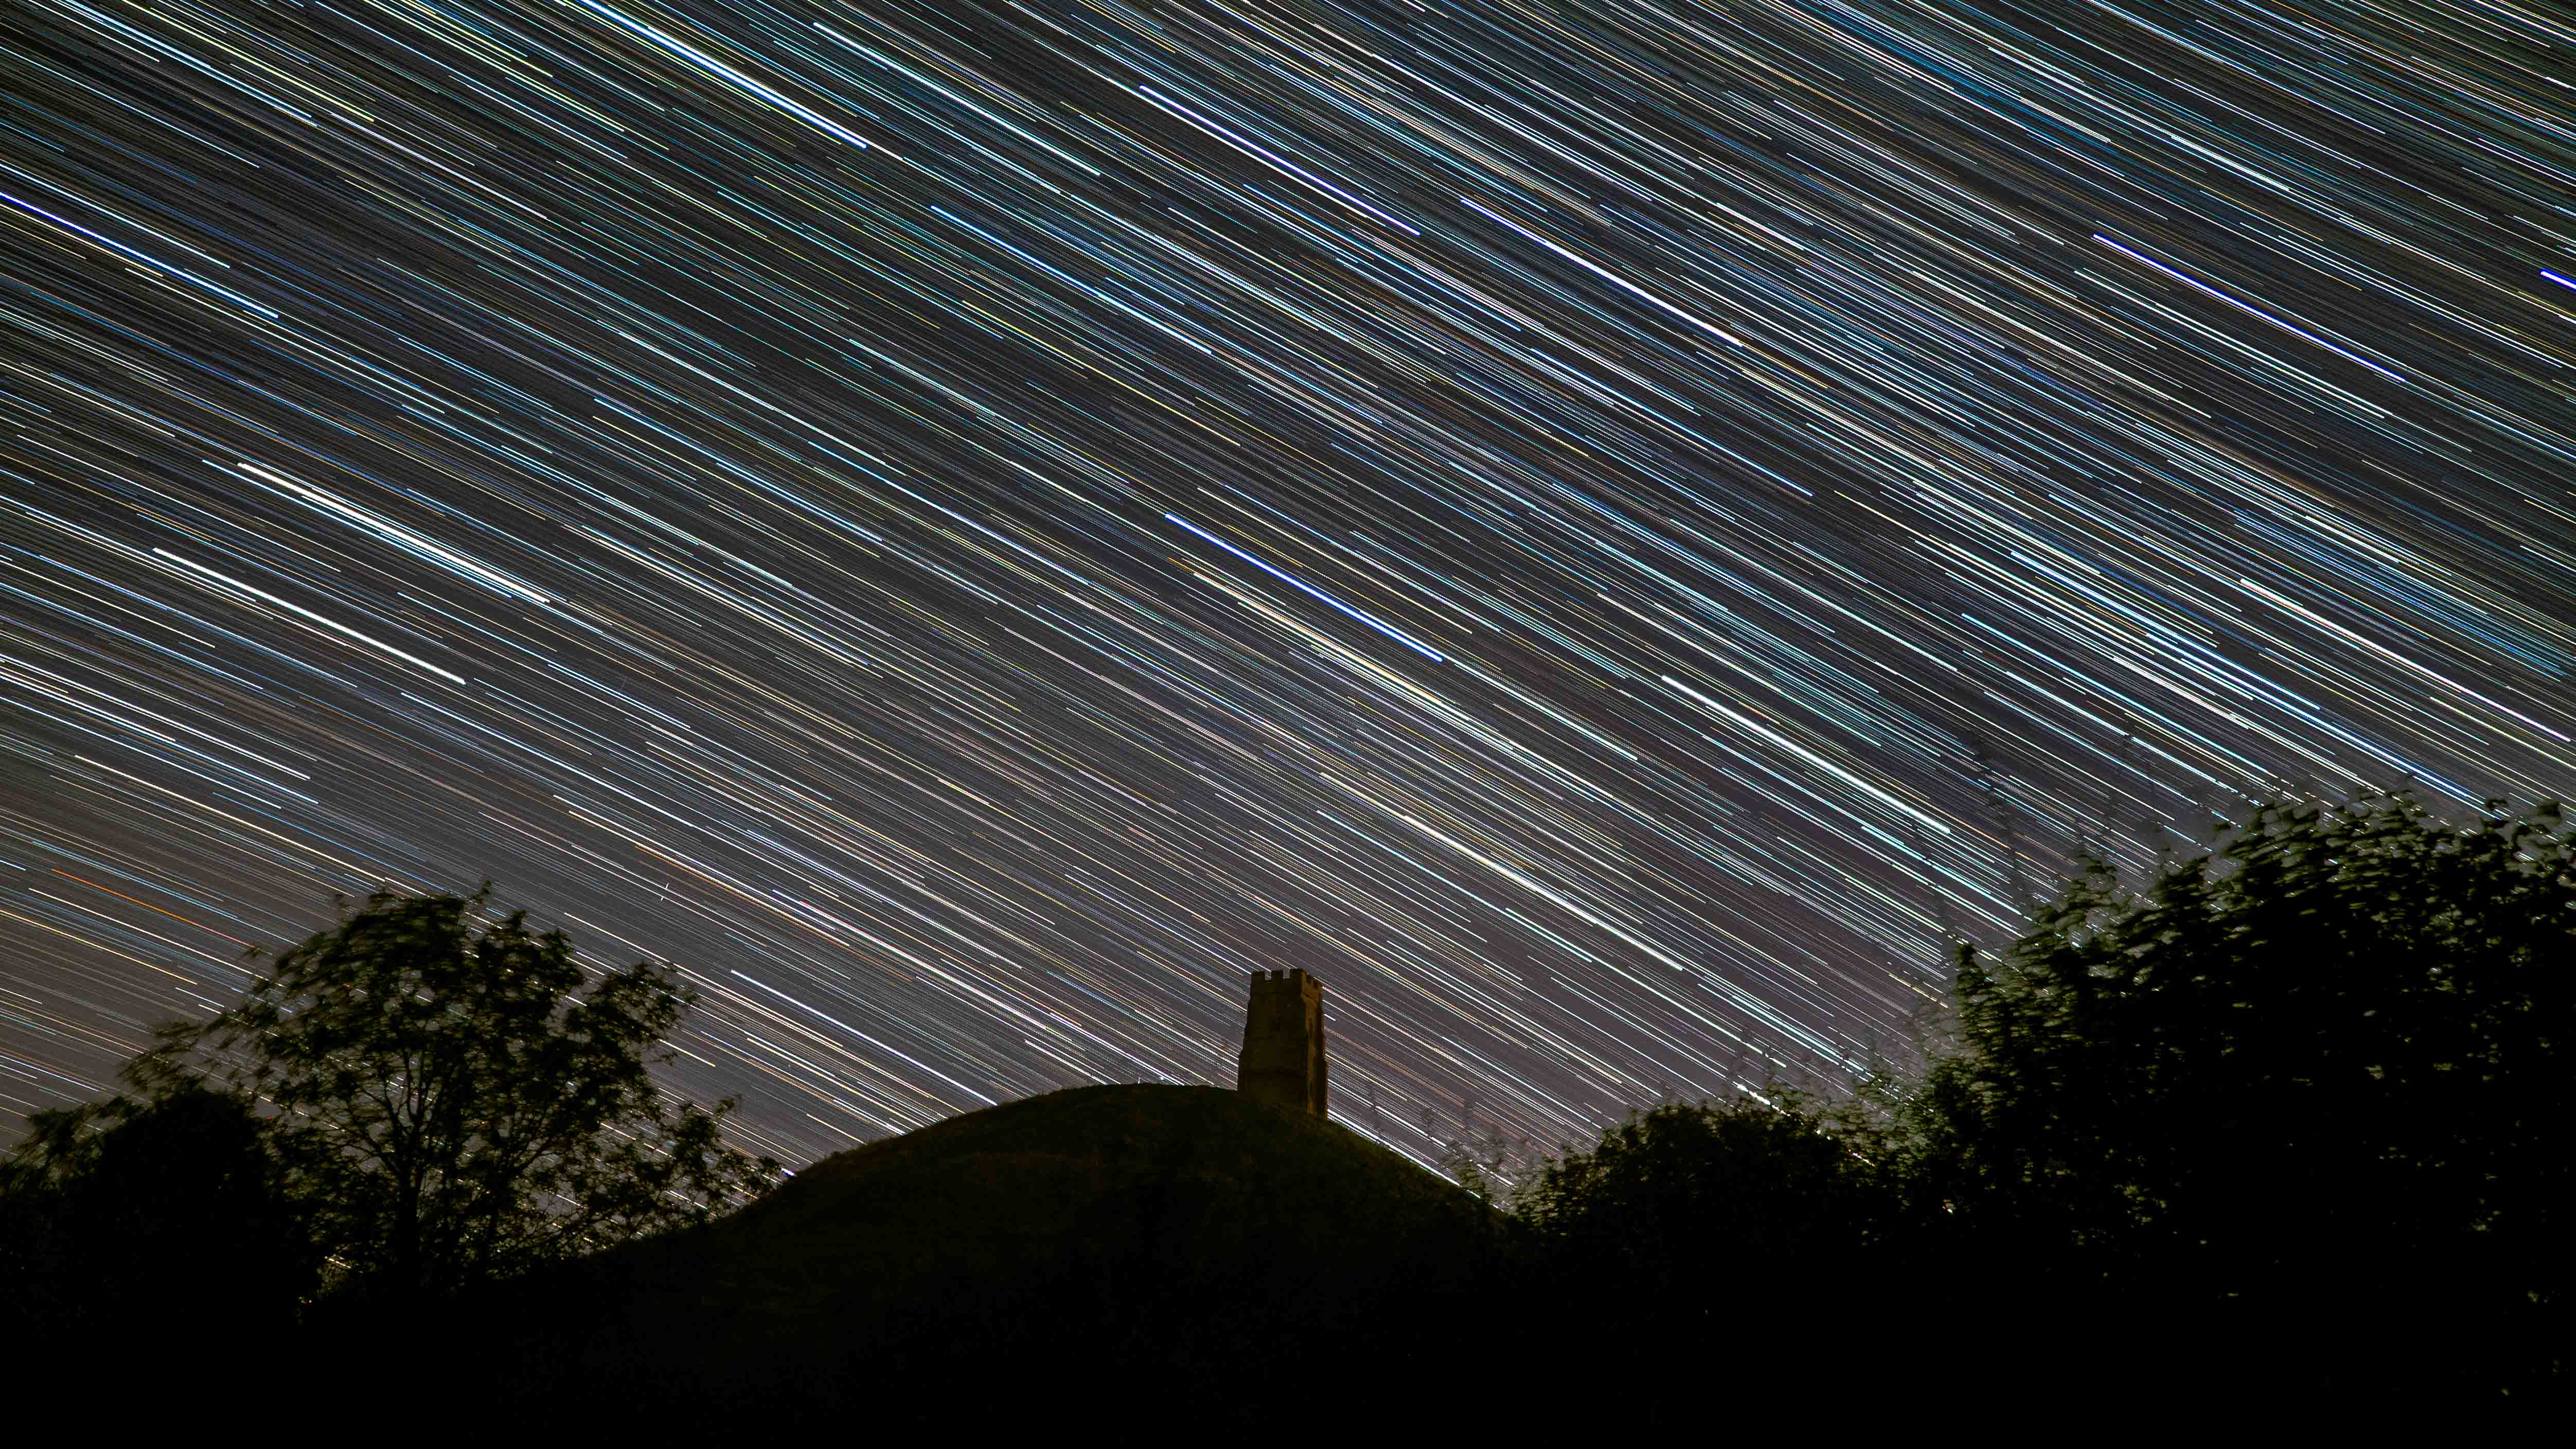
Shutter speed can also create or destroy astro shots. If it’s too short, it catches a star that doesn’t have time. If it’s too long, the stars will extend onto the trail instead of remaining sharp. The sweet spot depends on the focal length and the size of the camera’s sensor. This is where the 500 rule appears.
For a full frame camera, divide 500 by the lens focal length to get the maximum shutter speed. If you are using a 20mm lens, it is 25 seconds, divided by 500 by 20 seconds. For the APS-C model, use 300 instead of 500, and 250 if you’re using a micro 3/4.
Passing these restrictions will result in an unintended start trail. To make it shorter, you will need to boost your ISO to compensate. This adds image noise.
Our Favorite Astro Lens:
3. I haven’t composed because of the movement of the sky

The night sky is not static. It’s always on the move. If you haven’t planned for that, the perfect composition may disappear before setting up a tripod. A bright section of the Milky Way may be just above the ridge of that mountain, but 20 minutes later it may have drifted out of the frame. The same applies to the month.
Before you go out, use our free app to predict where your subject is. Stellarium is a free app that can be downloaded on your phone, allowing you to fast-forward the night for dates and locations. Others like Photopill and Skysafari offer similar tools with photo-focused features.
Planning ahead will allow time for shots so that the Milky Way core arch arches exactly where you want, or the moon rises behind the landmark. It is also inevitable that you will be completely unavoidable of setting up in the wrong place.
The “bright surveillance” on the Sony A7 IV helps you see where the Milky Way is.
4. Use an ISO that is too expensive

To conclude the ISO, it may seem like an easy way to brighten up the stars, but with astrophotography it isn’t always better. A higher ISO not only increases the camera’s sensitivity to light, but also increases the image noise that eats in detail. Press it too much and your beautiful milky color turns into a grainy mess that is impossible to save the editor.
The trick is to find the “sweet spot” on the camera. This is an ISO that gives you plenty of brightness without the image being owned by noise. Many modern full frame cameras are somewhere between ISO 1,600 and 3,200. The best way to know is to run some test shots and compare the results.
Once you’re a little more advanced, you can shoot different calibration frames to fight noise and showcase the image in detail.
These cameras are excellent in dark light:
5. I haven’t photographed it live
Shooting the night sky with JPEG is like drawing a nebula with a cheap box of eight crayons. I throw away most of the details and colors before I start editing. Because JPEG is compressed, the camera decides which information to hold and which information to discard. That’s bad news when it comes to astrophotography where subtle tones and faint stars are important.
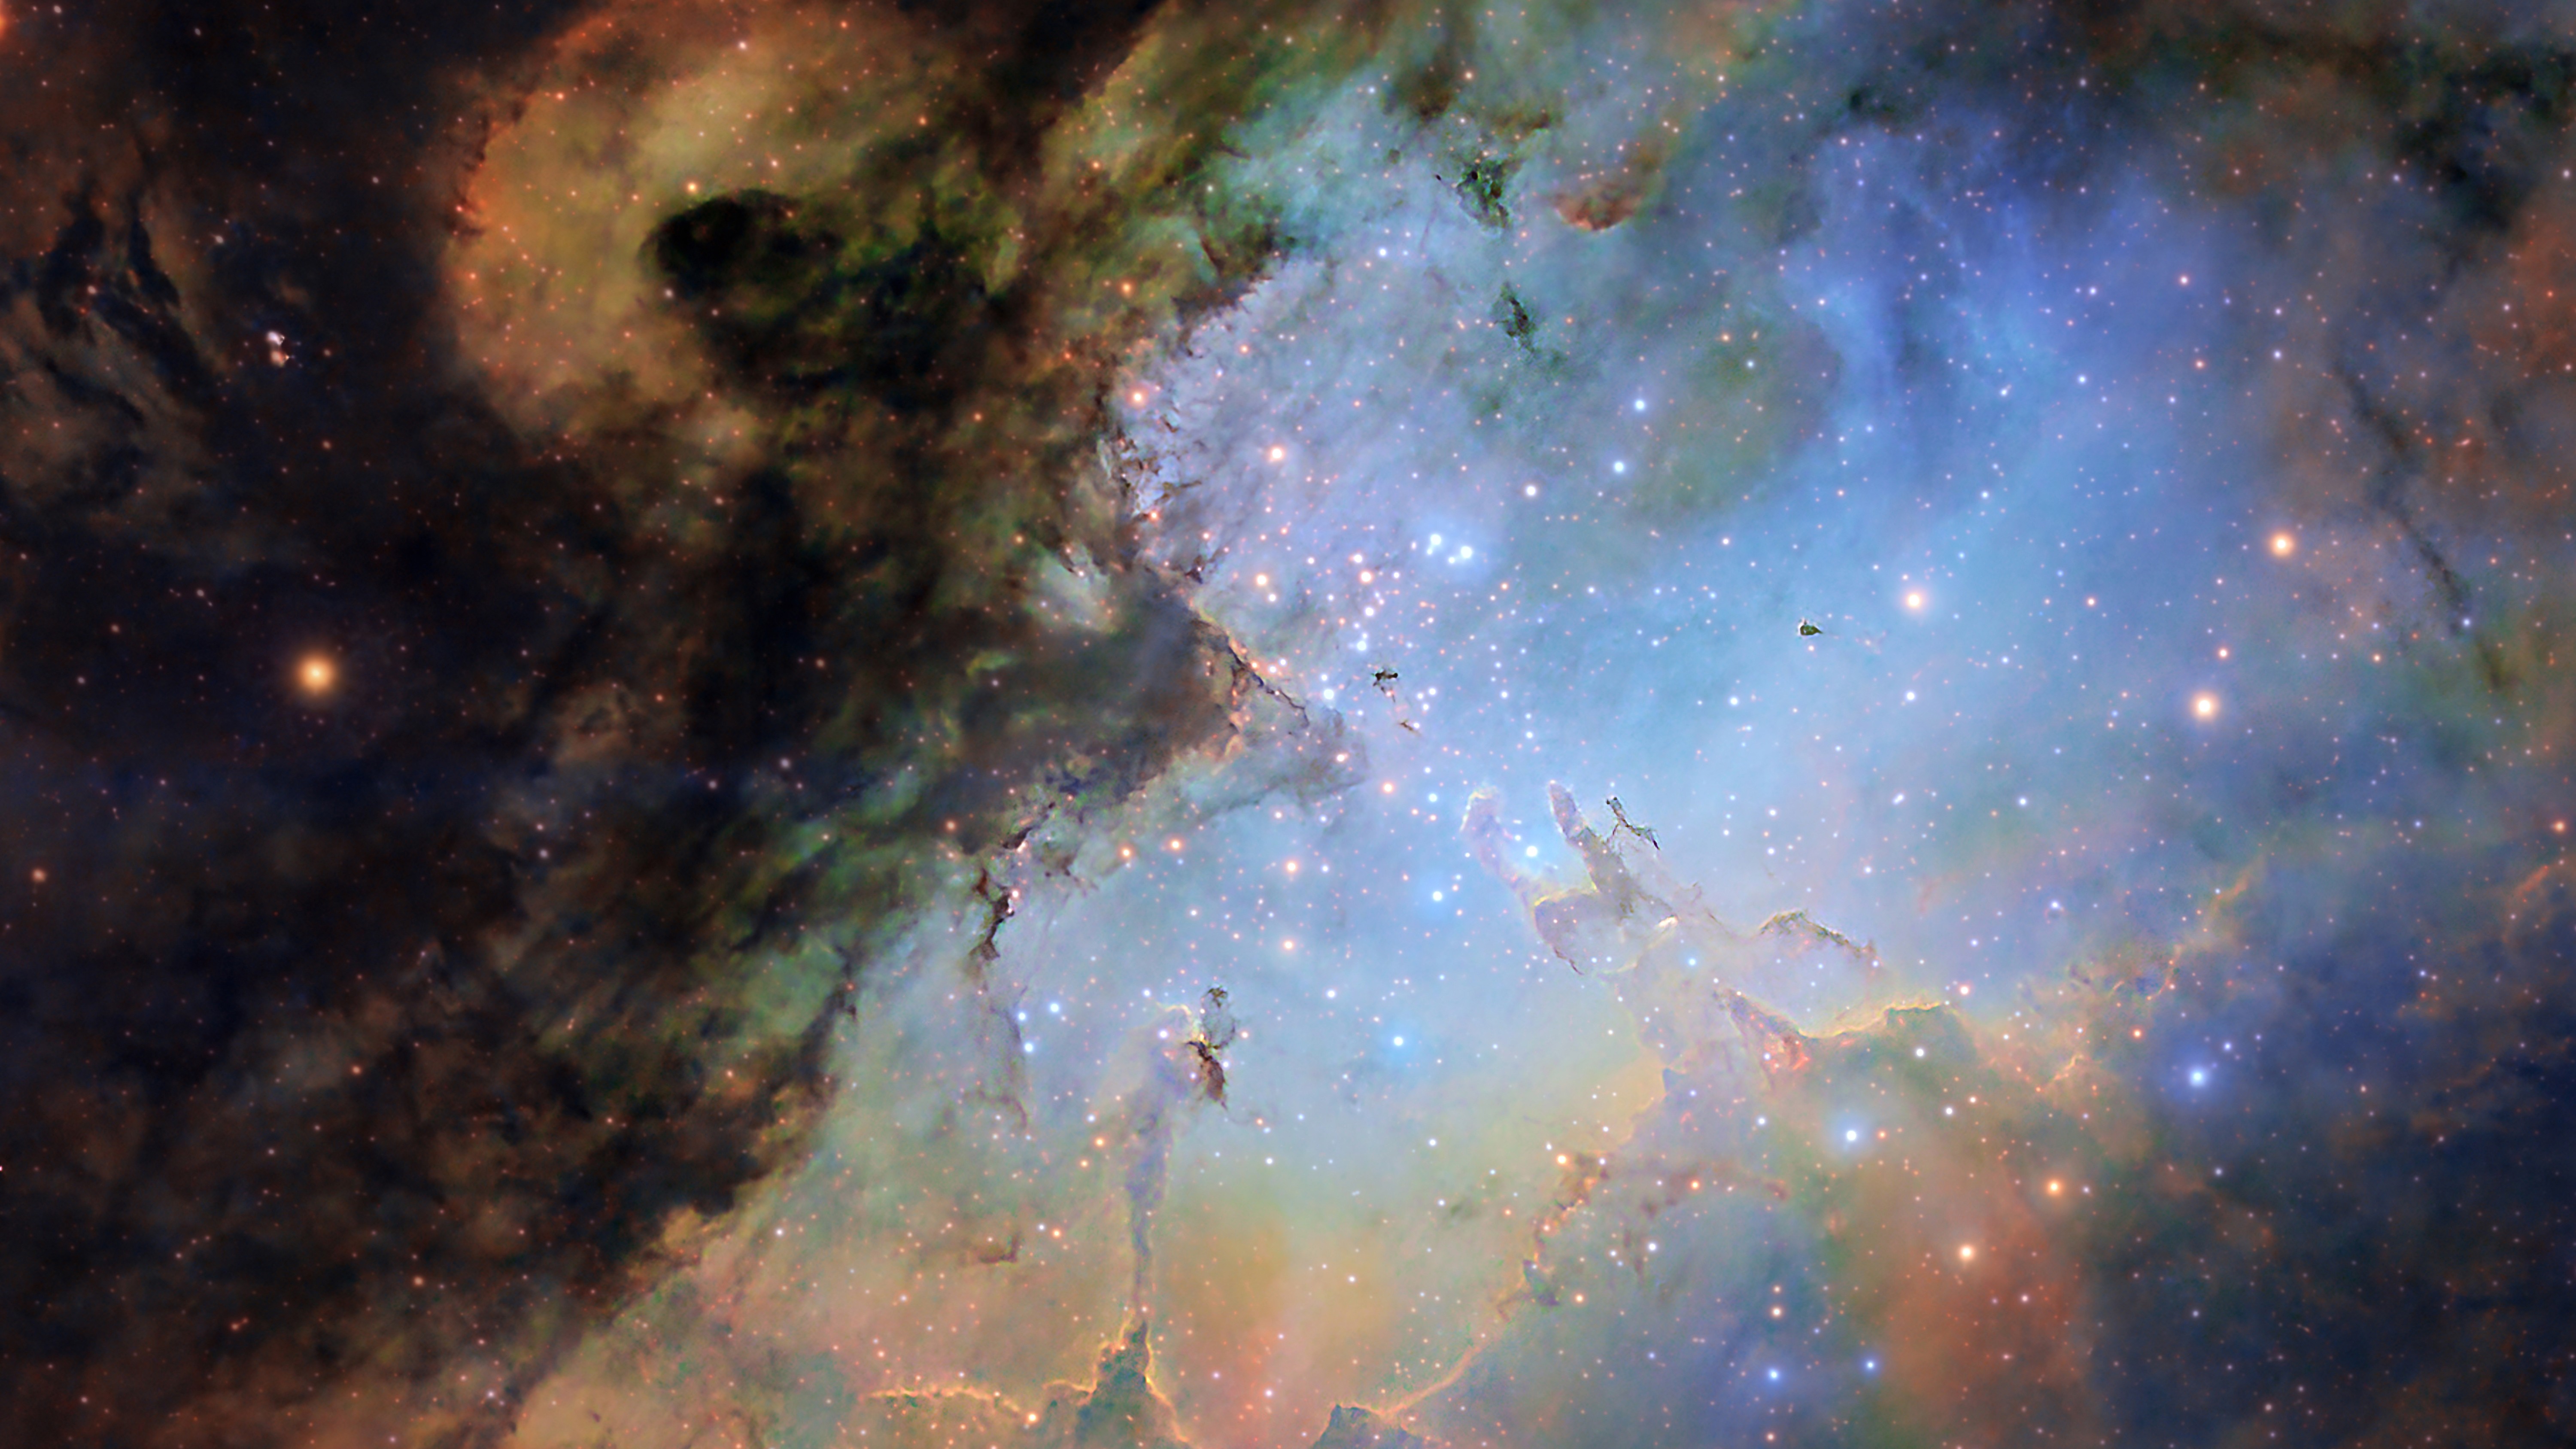
On the other hand, RAW files hold all the data that the sensor captures. Includes more colour, depth, dynamic range, and greater flexibility to adjust exposure and noise. This is especially important when pulling faint details from the Milky Way or when pulling out color into star clusters or Nebras.
The raw files are large and need to be processed before sharing, but that’s the point. Astrophotography is not about quick snapshots. It’s about creating the best possible image from the best possible data. If you want your night sky to always look like their best, start with RAW.
Source link